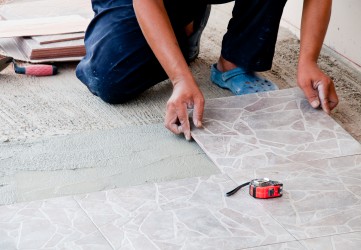
Regroutting Tile is Necessary—and Easy
There’s no greater joy than renovating and customizing your home to make it match your style and personality. However, several years after you complete a bathroom or kitchen renovation, your home will inevitably begin to show signs of wear.
Keep in mind that this is normal. But it will be manageable if you can keep up with it.
One culprit, according to this article from Zillow, is grout. Even if it was professionally installed, over time it will stain, crack and become loose. Fortunately, it’s easy enough for the average do-it-yourselfer to remove and replace. It’s also a good investment, too. Regrouting tile can restore lost luster and increase your property value.

Removing Old Grout
It’s certainly possible to remove grout the old-fashioned way—by hand—but it’s a lot easier if you use a power tool.
If you’re up for taking the power-tool-free route, you will need a manual grout removal tool. There are two types: one looks like a screwdriver with a triangular carbide blade mounted on its end. The other features a carbide grit-edged blade, known as a grout saw.
If power tools are more your style, there are a couple of effective options to choose from. One outfits your reciprocating saw with an accessory that is specially designed to remove grout. Alternatively, you can opt for an oscillating tool. These are best used on smaller jobs because they afford a high degree of control. But no matter what power tool you end up with, remember to keep a chisel or a flat-blade screwdriver handy because the stubborn bits often need a little coaxing to come out.
Replacing the Old Grout
The first step in regrouting tile is to mix a certain amount of grout powder with a specific quantity of water. Also, make sure you don’t deviate from the manufacturer’s directions.
Once you have properly mixed the grout in a bucket, apply it with a plastic towel and use a grout float to press the mortar deeply into the joints. As you do this, hold the float at a 45-degree angle to the wall or floor surface.
Once you are satisfied with the distribution, clean off the excess mixture before it has the chance to harden. To do this, use the grout float again, but this time hold the tool at an 80-degree angle so you can skim the excess grout from the face of the tiles. Combined with the grout float, a large, damp sponge can also be helpful for wiping off any lingering grout haze.
Finally, allow the grout to harden for one-to-two days. And walk on the tile surface ONLY after that amount of time has passed.


